Creating Stacks
Walk through creating your first stack of pull requests.
This guide walks you through creating a stack from scratch, from starting a branch to having multiple chained PRs on GitHub.
Start a New Branch
Section titled Start a New BranchUse the stack new command to create a branch that tracks your main branch:
mergify stack new feat/my-featureThis is equivalent to git checkout -b feat/my-feature --track origin/main. You
can also create branches however you normally do. Stacks doesn’t require its own
branch creation command.
To branch from something other than main (a release branch, for example):
mergify stack new feat/my-feature --base origin/release-v2Make Commits
Section titled Make CommitsWork normally. Each commit should represent one logical unit of work, something that makes sense to review on its own.
For example, building a new API feature:
# First commit: data modelgit add src/models/user.pygit commit -m "feat: add user data model
Define the User schema with fields for auth."
# Second commit: API endpointgit add src/api/users.pygit commit -m "feat: add user registration endpoint
POST /api/users creates a new user account."
# Third commit: testsgit add tests/test_users.pygit commit -m "test: add user registration tests
Cover happy path, duplicate email, and validation errors."
Each commit automatically gets a Change-Id trailer. You don’t need to do
anything special.
Push the Stack
Section titled Push the StackRun:
mergify stack pushWhat happens behind the scenes:
- Rebases your branch on the latest
main - Creates a remote branch for each commit
- Opens a PR for each commit, chained in dependency order
- Posts a stack comment on every PR showing the full stack
The full flow, from setup to push:
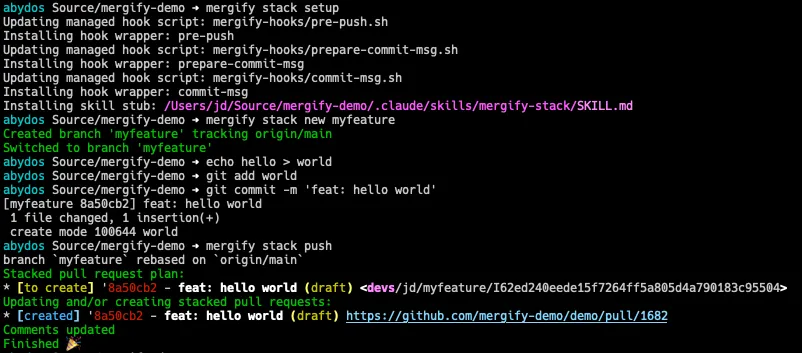
The result on GitHub: three small, focused PRs instead of one large one. Each PR contains exactly one commit’s worth of changes.
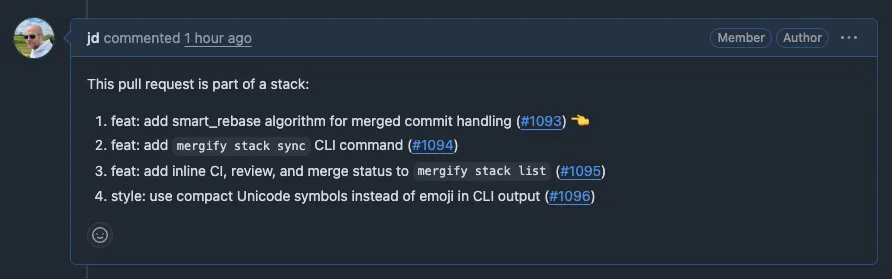
Each PR includes a stack comment that shows where it sits in the chain:
Check Your Stack
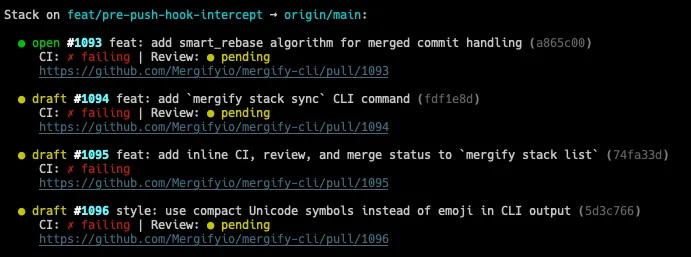
Section titled Check Your StackTo see the state of your stack at any time:
mergify stack listThis shows each PR, its CI and review status, and a link to GitHub:
Next Steps
Section titled Next StepsTo update a commit after code review, see Updating Stacks. For a reviewer’s perspective on navigating stacked PRs, see Reviewing Stacks.
Was this page helpful?
Thanks for your feedback!